How many reviews had you read about in this blog? Or how many review videos have you watched in the EyeCycled YouTube channel?
Not many, right? Yes, and this is intentional…
I don’t typically do reviews… there are so many people out there doing reviews on everything, I have no desire to compete with anyone on this, but sometimes I feel excited about something and this gives me an opportunity to write about it, hence a “review”. So, keep this definition of “review” in mind if you decide to continue reading or to watch the videos I recorded. I am happy with just having written about them (writing has a therapeutical effect on me), but I truly hope this work will be of use to someone else.
If you decide to continue, this is the situation at the time of writing…
- This is my 1st e-bike:
Although I’ve done test-rides on other e-bikes before, I’ve never owned one myself, so I have no frame of reference to compare with other e-bikes. If you are looking for comparisons, there are quite a few YouTube channels and blogs doing them now… keep in mind many get the products sent to them for free from the manufacturer, so there is always a question on whether their review is neutral and unbiased. This is something you have to decide. I paid for my bike. - First time… I used my Insta360 X2 camera mounted on a bike’s handlebar
- First time… I used my Comica BoomX-U wireless microphones connected to an external USB3 Microphone adapter on the camera
- LOTs of “firsts“… What can go wrong, huh? 🙂
Pre-Sales things you may like to know
-
- How much I paid: USD $1,399.00, down USD $200 according to them. Paid using PayPal’s “pay in 3” option and once converted to £ that made for 3x interest free instalments of £386.23 and a total of £1,158.69.
- Order process: Ordered from Fiido directly after exchanging several messages (emails) with their pre-sales team. Excellent pre-sales services. All emails answered within 2h of sending. All information given turned out to be accurate. The email address used was support@fiido.com
- Delivery: Free of charge (i.e., incl. in price) and very good… ordered on a Wednesday and Saturday morning 9:30am it was delivered. Although Fiido is a Chinese company, they have warehouses in the UK and EU, so the bike was delivered without any added import duties.
At the time of writing I believe it was the cheapest e-bike of this type in the UK market. Did some “online research” before buying and every other equivalent option was at least 25% more (in the UK! I may have missed options available in other markets… the world is still a pretty big place)
Although this review is for the “Step-over” C21 model most of it is also applicable to the C22 “Step-through” model. This review will NOT focus on specs as they are available in the Fiido Website.

Unboxing and setup of the Fiido C21 Pro e-Grave bike.
Before I start let me tell you that…
- I have unboxed, assembled and setup dozens of bikes over the years, but I am by no means an expert.
- This is not a guide on “how best” to unbox and assemble this bike, but I hope it helps you do it better and faster than me.
- It goes without saying, if you use any information provided here, you’re using it at your own risk.
I think the video below is very self-explanatory, if you have the time to watch the 16 min of it (probably could have done it in less than 10). I will list, however, some highlights and things to watch for from what I learned while unboxing and putting this bike together.

- Don’t waste time! Open the box, cut the cable ties holding the front tire, remove the front tire and the accessories box, then remove the bike from the box. Put the box away, you won’t need it anymore, unless you decide to return the bike. I still have my box, although I have decided to keep the bike.

Assembling the Fiido C21 Pro e-Gravel bike - RtFM (Read the Friendly Manual). The English in the manual is not the best, but it’s clear enough. The manual itself is well designed and quality printed (not the typical A4 page on printed paper with Chinese to English machine translation). The order stated in the manual is the best to assemble the bike, follow it!

Manual of the Fiido C21 Pro e-Gravel Bike - Don’t forget to remove the disc brake pad spacer (the little plastic thing that is inserted in place of the rotor for transportation) before you attempt to put the front wheel in place.
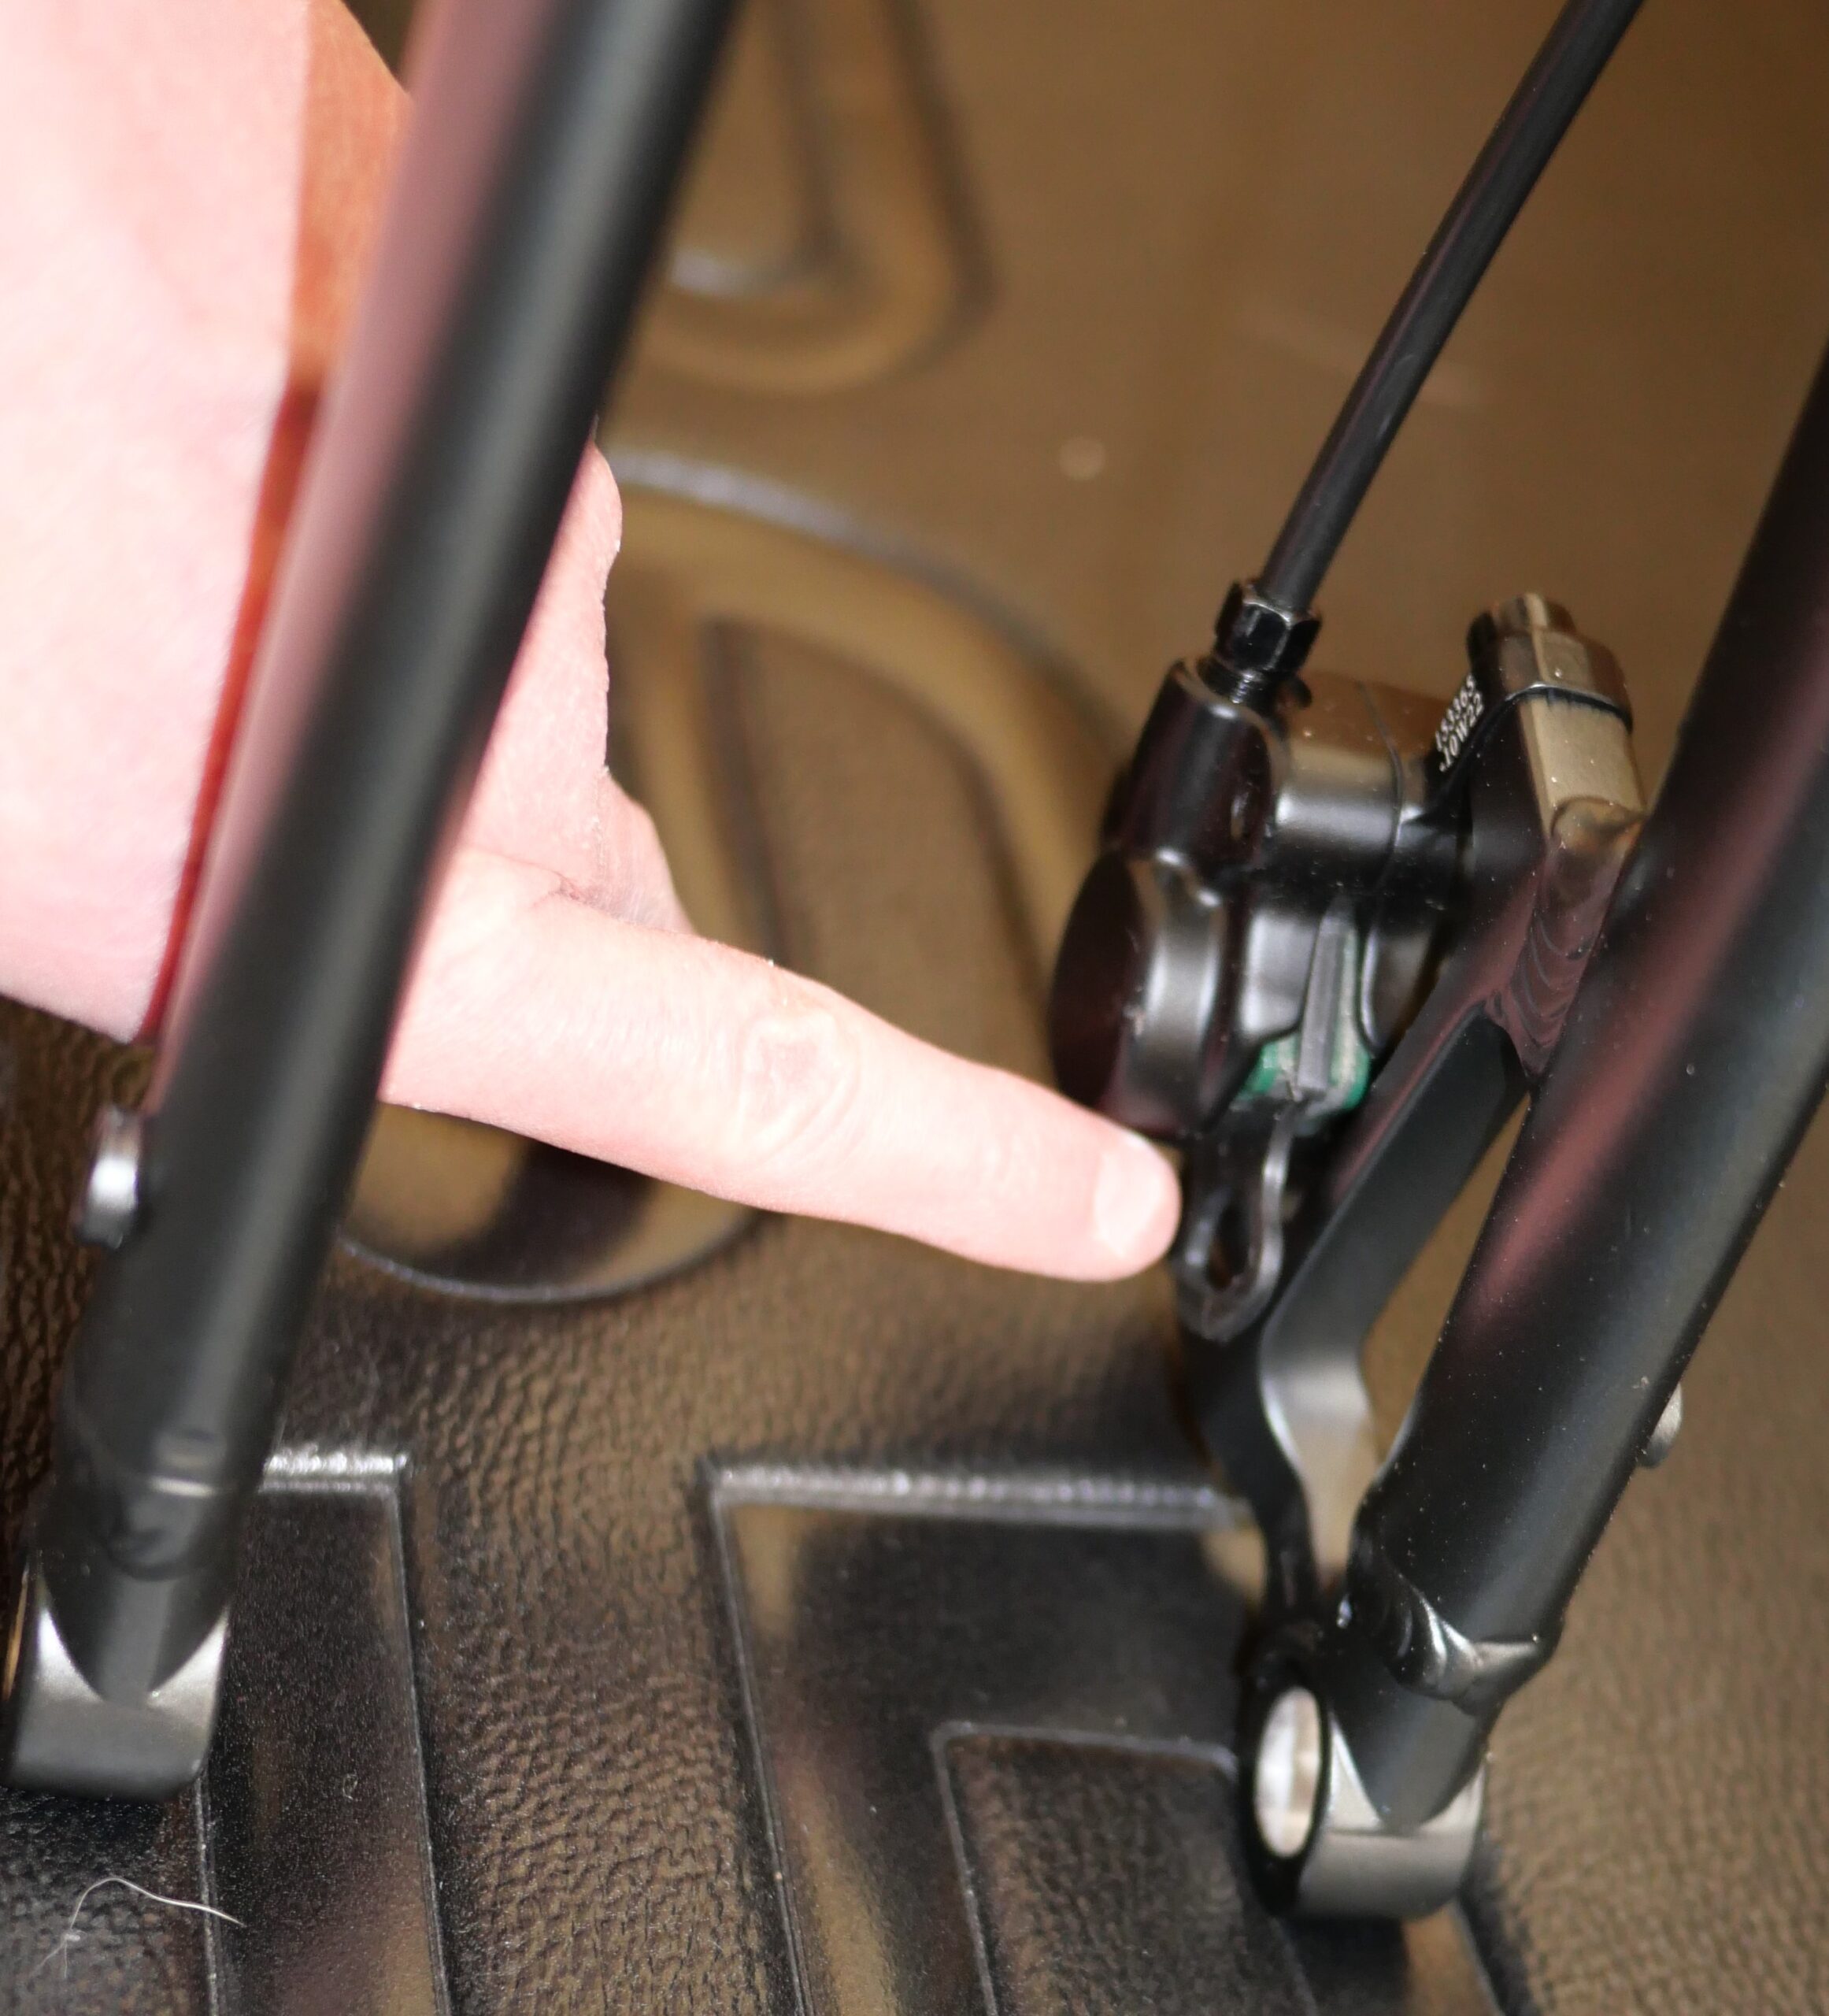
Fiido C21 Disc Brake Spacer - I struggled with the assembly of the control panel (meter). This is something I never had to do before as this is my 1st e-bike and it’s not very well described in the manual, in my humble option. It is not immediately clear what cable is connected where and once I figured it out, I struggled a bit with the connection of the cable coming from the handlebar control buttons. The manual and the cables themselves are not very clear in which direction to connect and where, and I was afraid of forcing them and breaking something. In their web site there is a much shorter video that makes this clear.
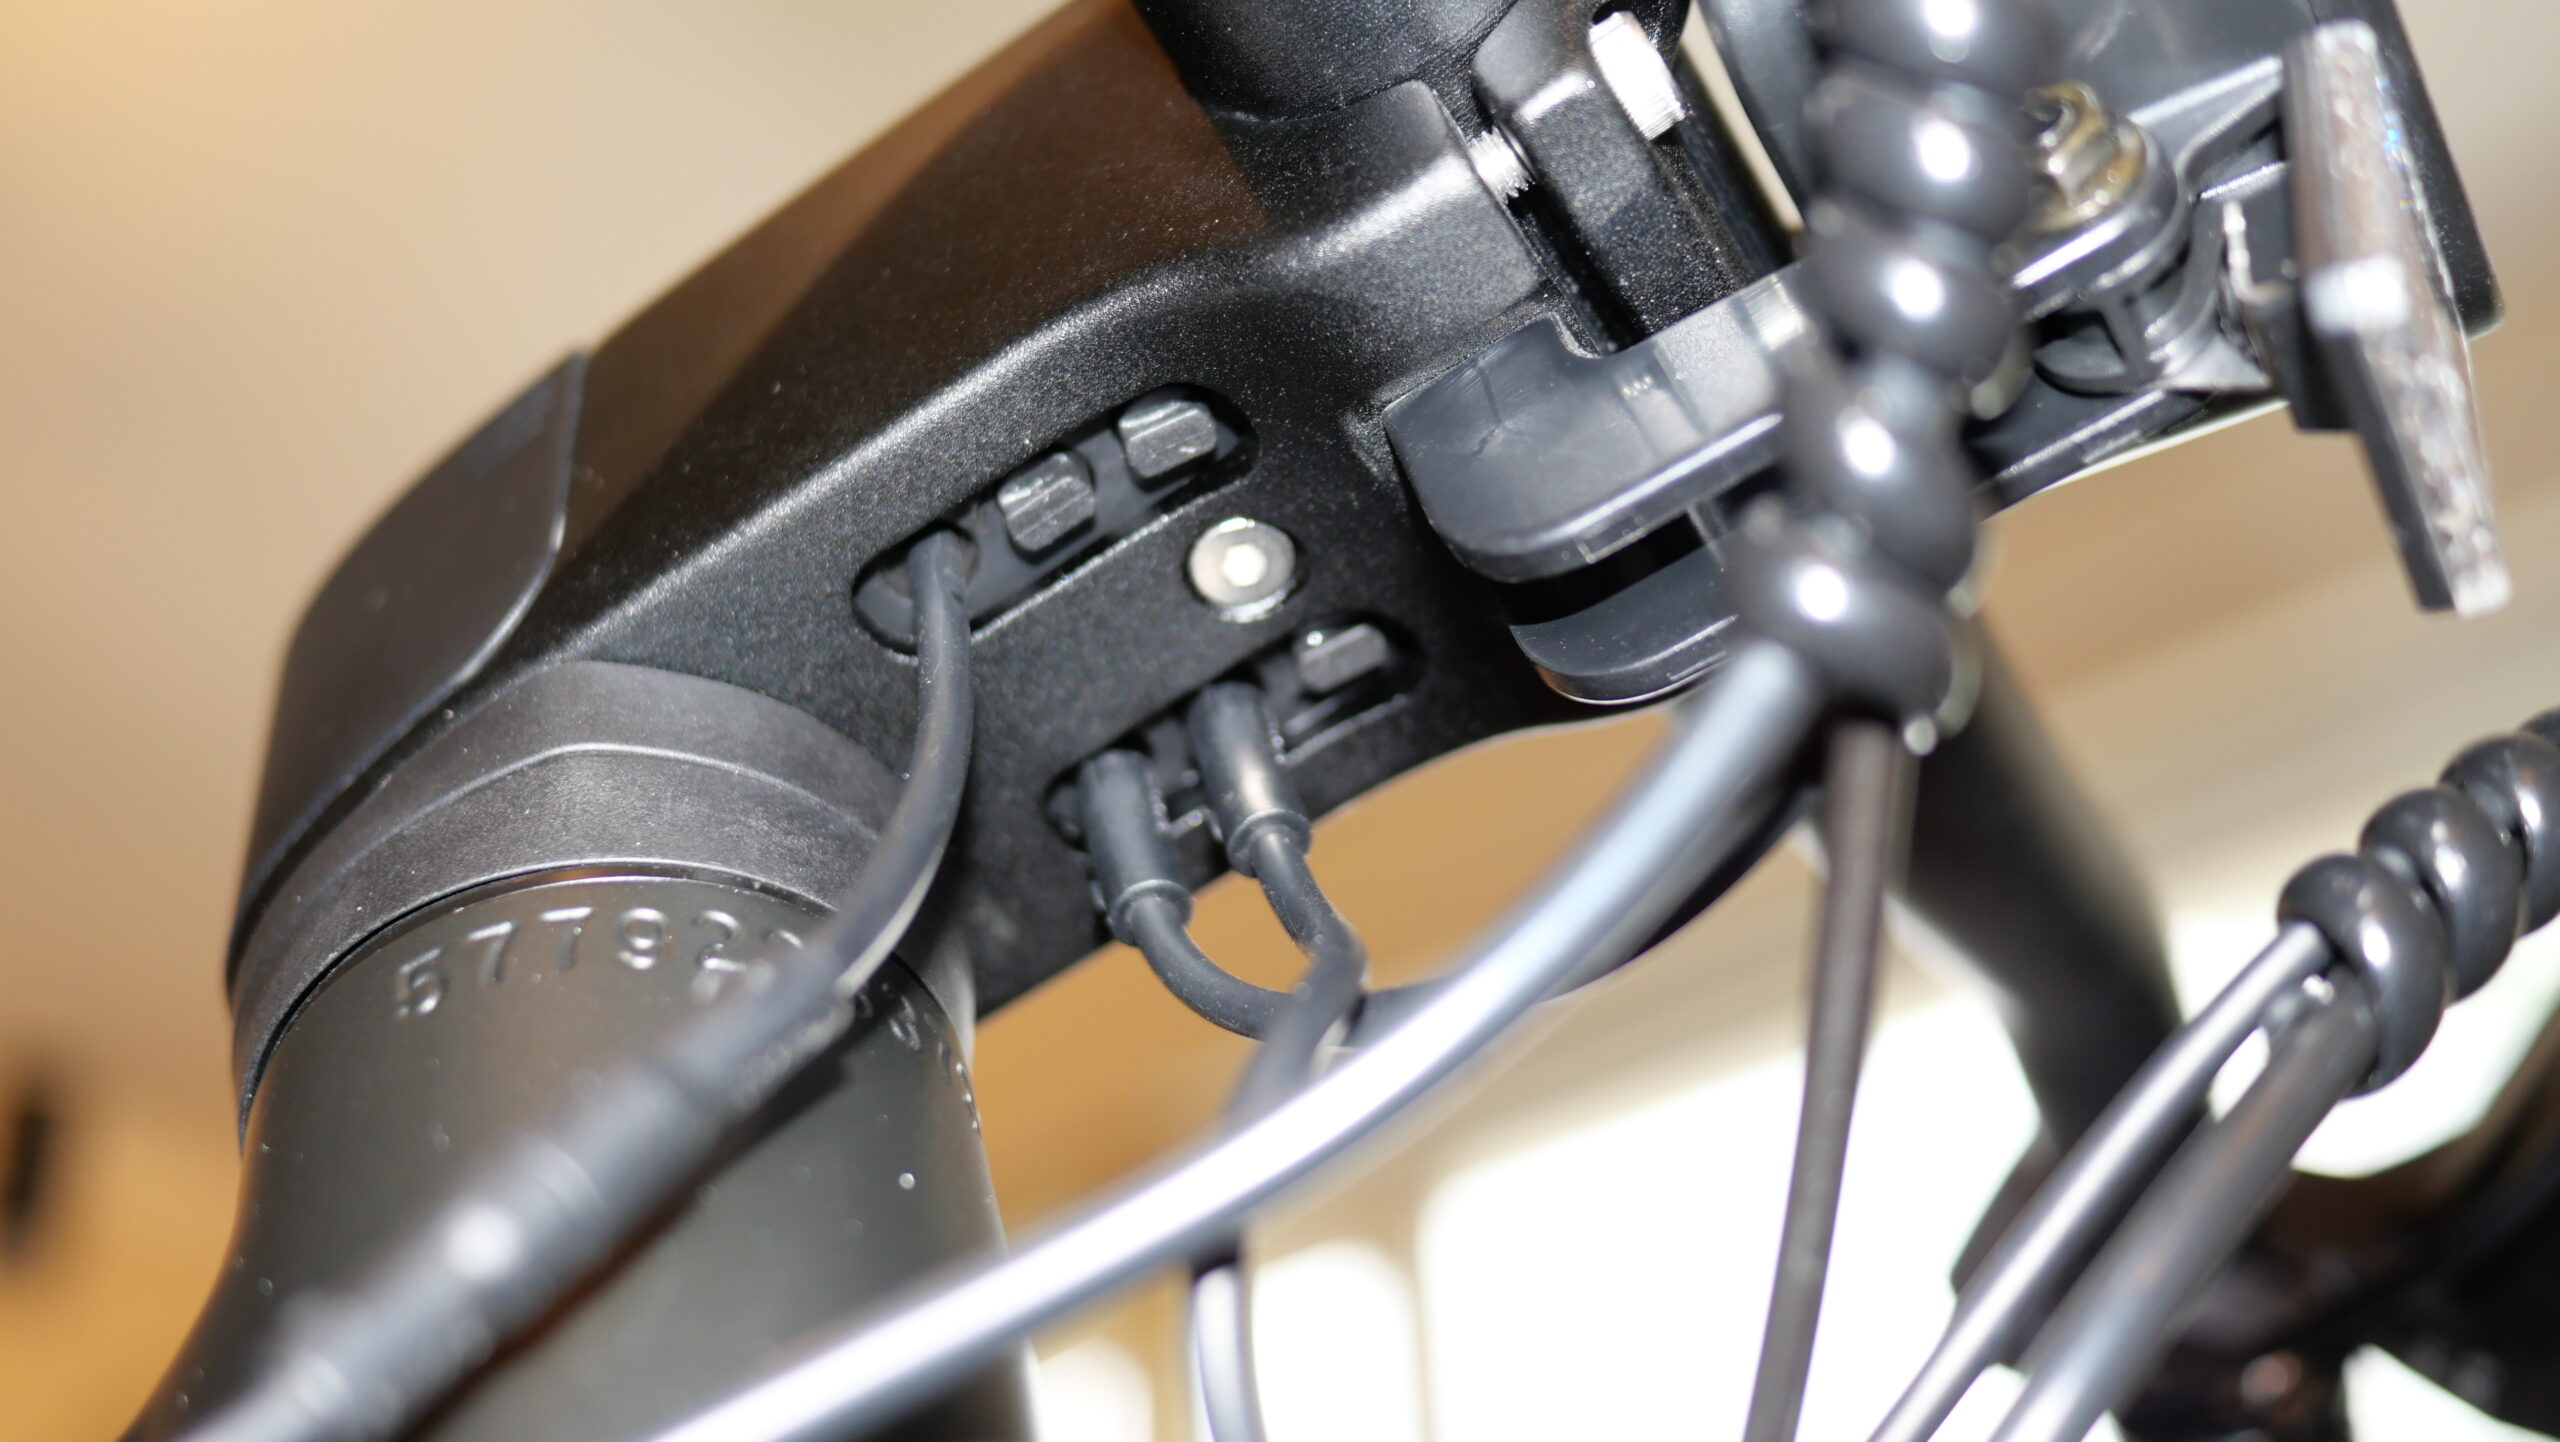
Underneath the Control Panel of the Fiido C21 Pro e-Gravel Bike. 
Front light assembly of the Fiido C21 Pro e-Gravel Bike 
Fiido C21 Pro e-Gravel bike control panel and handlebar buttons. - The fenders or mudguards, as known in the UK, are a bit fiddly to install. The is no explanation in the manual for how to install them, so I presume it is something they assume everyone knows how to do. I, personally, could have used some directions to get it done faster.

Rear fender or mudguard on the Fiido C21 Pro e-Gravel bike 
Rear Wheel with mudguard on the Fiido C21 Pro e-Gravel Bike
Cycling review of the Fiido C21 Pro e-Gravel bike + Fiido App
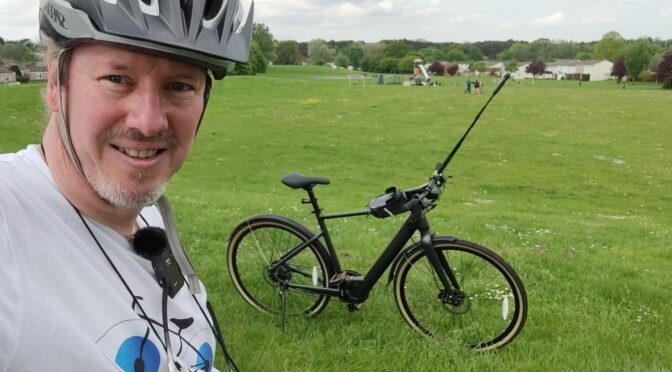
Well, the video turned out to be 53 min long (and that is after I cut out significant portions where I wasn’t talking)… I know, I know… who has time these days, but in the video I don’t just talk about the bike, I show you places here in Bracknell, Berkshire (UK), I talk about the camera setup (the Insta360 mounted on the handlebar), the weather and all 😉 .
I did ask in the video for permission to make mistakes and awkward moments 🙂 .
This is the route I’ve taken here in Bracknell to reach the 30 km mark.
I am not going to write more about the cycling here. I’ll let the video do the talking, but I will provide some opinions in the conclusions part of this post below.
Before I move onto the conclusions part, I mentioned in the video that I would be providing more info on the Fiido Smartphone App that you can download and install from the Google Play store (there might be an iPhone equivalent, but since I don’t use Apple, I can’t tell).
The App is relatively simple and a bit “low end” in my humble opinion. In my experience the Bluetooth connection must be handled by the App itself as when I connected to the bike through the traditional Android pairing mode the App could not connect to the bike.

The login procedure is also perhaps a bit more complicated than needs to be (I have not used the Facebook option though), but that might be because you can start the bike by proximity if you are using their wearable watch called Fiido Mate (at an additional cost of USD $ 100). The phone App does not allow for proximity start.
The login screen apparently comes up every time you have not used the app for a while and remembering the credentials have proved to be a challenge for me. I’ve already had to reset the password 3x as the App does not remember the credentials and the phone (Google) doesn’t appear to store them.

When you get the list of countries to select the country code from, the United Kingdom is listed as “United Kiongdom“, a very visible typo that no one in their development team appeared to have picked up (sorry, I am a detail oriented person). In practice, you can only use it to display information from the bike, not to change any settings in the bike. The default “Home” screen shows you highlights from a feed of other Fiido App users in a “Facebook Style” feed page where you can see updates and pictures posted by other Fiido App users. This is likely linked to the community feed under the “Discover” option, but I am not sure what gets highlighted under the home page.
There are 3 other pages or screens you can switch to at the bottom of the phone screen: Device, Discover and “MY”.


The Device screen shows you a list of Fiido bikes you connected to (if you have more than one, I presume). The picture on the left shows the screen before you connect to the bike. Once the bike is connected a little Bluetooth icon is displayed on the control panel of the bike (picture on the right) and when you select the bike (or device) you want then you get the picture below on the left.


That page allows you to change some settings, but these are App settings, not bike settings. Most of the information it displays at default are also displayed in the bike’s own panel, but there are additional items you can show by selecting the “Meter Setting” option. If you click on that
you get a very “heavy” screen in which the UI overlaps the Android buttons at the bottom (another development oversight, perhaps) and its just a bit messy to understand and use. You drag the desired screen setting (on the bottom) to one of the square areas on the top.


To see the “Setting” screen (picture on the right) you must be connected to the bike and it will show you info about the bike. As far as I know only some of the information is user configurable, like the name of the bike (device) and the type of measure (km / miles).
When you click on the Cyclist / Bike button just below the settings in the device page (you must be connected to the bike) the information you configured to show under “Meter Settings” will be displayed in the App (picture on the left above).

Screen, Ranking list

The “Discover” tab offers a “ranking list” (picture to the right) of Fiido App users and the distance they cycled in a Day, Week, Month and all. There are people that cycled nearly 4,000 km in a month showing in that tab 🙂 In addition to this ranking list, there is a community option to the right where a more extensive “Facebook Style” feed page is displayed (picture to the left).

Last, but not least, the “MY” tab at the bottom appears to show your own posts to the feed and some personal information you choose to display, which you can setup through the hexagon shape icon on the top left. Just to test it I added a post to the feed with the picture of the assembled bike after the unboxing. Appears to work OK, but remember, your data is likely going to Chinese servers 😉
Personally, I think the Fiido App is a “nice to have” addition to the bike. I usually have details such as distance, elevation, etc, available on my Garmin device and my phone is displaying routes (either using Google Maps or Komoot) and I am unlikely to be contributing to the feed, but I may check it out every now and then. We cyclists are social beings after all and usually proud of our physical achievements (the Strava generation), but it is just another social media feed to worry about. The software definitely needs a bit of polishing as its UI is a bit all over the place sometimes, but it works.
Conclusions

OK, I do have a sense that this post and related videos are way off the mark when it comes to how extensive they probably should be, so it would be good to keep at least this portion short. The table below is not in order of importance.
| Pros | Cons |
|---|---|
| Price | Smaller battery compared to other options in the market. |
| Hydraulic Disc Brakes | Greater range (related to the battery size above) |
| Responsive torque sensor | Non-Removable battery. I see this as a "con" because that means you can't simply remove the battery for charging, you need to place the bike closer to a power outlet. That also means if the bike is outside and its raining, you can't recharge it (well, I wouldn't). |
| Excellent pre-sales customer service | More gears, perhaps a 2x9 system |
| Easy to use control panel and display. Very visible even under bright sunlight. | No gear indicator panel in the gear shifter. |
| Included Accessories such as a kick-stand, front and rear LED lights and fenders / mudguards | Only one mount for a water bottle (which might be taken by a range extender battery in the future) |
| Silent operation (can barely hear the motor) | No rack mount holes in the fork. |
| Not heavy for an e-bike, approx. 18.5 kg fully assembled and with all accessories. | Instructions manual could use a review, such as more clear instructions for the control panel and fenders / mudguards (minor) |
| Bluetooth connectivity with Smartphone App and integrated community features. | Smartphone App has a few issues (minor) |
| Ability to "Promixity Start" the bike using the Fiido Mate smart watch (not tested) | |
| Rear rack mount holes in the frame. | |
| Future availibility for a range extender battery on the water bottle mount (untested) | |
| Good build quality | |
| Step-over or Step-through (easier for women) models available. | |
| Comfortable saddle | |
| Reasonably fast charging, although I have not tested it with the battery completely flat. From 40% to 100% took less than 2h. |
At the time of writting and as far as I am aware, the bike can be purchased only through the Fiido site.
As I said in the beginning, this is my 1st e-bike, so I have no frame of reference to compare, but I would give this bike a 4 out of 5 star rating (perhaps a 4.5 if I can get the gears properly setup).
The more I use this bike the more I discover about it (setting’s tweaks, battery time, etc). Instead of changing the post and delaying its publication, every time I find something worthy of mentioning I am going to add a comment here and in the EyeCycled Facebook page, so stay tuned if interested.
As mentioned in the Introduction part of this post, there are a few reviews about this bike on the web already. Tony’s review on ebikechoices.com was the one that convinced me to give this bike a go. You may want you can read his expert review as well, at this link.
If you have any questions, don’t hesitate to comment or send me a message through the contact form. Please subscribe to my Blog and/or to my YouTube channel if you don’t want to miss the next one and help me spread the word by liking and sharing my Facebook Page and Instagram feed also. Thank you all for your time and “Bom Caminho!”.
Do you like these posts? Why, then, don’t you pay me a coffee to help with the blog hosting cost and as a caffeine incentive to keep me going through the long hours of the night? (Suggested amount: £2.00 or USD $3.00 or 2.50€ or whatever you want to give). You may donate through my Patreon Page or through PayPal directly. ![]()
![]()